Following the integration of MultiOTP for user logins, Windows will prompt for an additional one-time password (OTP), requiring users to retrieve it from their Authenticator apps such as Google Authenticator or Microsoft Authenticator.
Let's start the process by setting up a MultiOTP server, designed to retrieve users from Active Directory (otp.dc), generate unique QR codes for each user, and validate the second factor during authentication.
Begin by establishing a dedicated group in Active Directory, such as '2FAUsersGroup,' and enlist users (e.g., saugat, ashim) into this group. Users within this group will be subjected to second-factor verification when logging into Windows.
For administrative purposes, create a new user in Active Directory named 'otpsrv.' This user will be utilized by MultiOTP to access Active Directory with minimal necessary privileges.
Next, follow below steps to configure the MultiOTP server:
Obtain the MultiOTP files by downloading the archive from the below website: https://download.multiotp.net/
Extract the contents of the multiotp_5.9.7.1.zip archive, specifically the 'windows' directory, to a local folder (e.g., C:\MultiOTP).
Open a command prompt and navigate to the directory containing the multiotp.exe utility:
CD C:\MultiOTP\windows
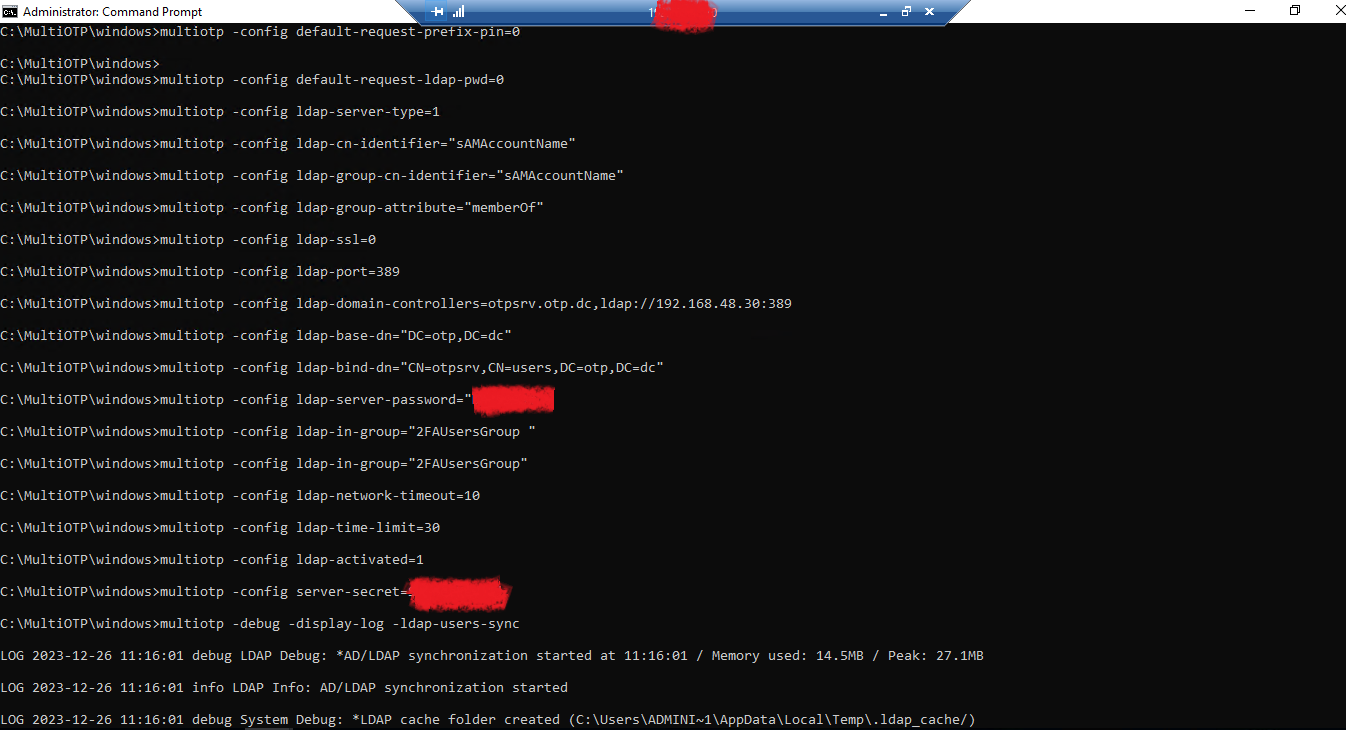
With these preliminary steps completed, we'll proceed to configure MultiOTP to retrieve users from the LDAP Active Directory using the following commands:
multiotp -config default-request-prefix-pin=0
multiotp -config default-request-ldap-pwd=0
multiotp -config ldap-server-type=1
multiotp -config ldap-cn-identifier="sAMAccountName"
multiotp -config ldap-group-cn-identifier="sAMAccountName"
multiotp -config ldap-group-attribute="memberOf"
multiotp -config ldap-ssl=0
multiotp -config ldap-port=389
multiotp -config ldap-domain-controllers=otpsrv.otp.dc,ldap://192.168.48.30:389
multiotp -config ldap-base-dn="DC=otp,DC=dc"
Account for multiotp authentication in AD:
multiotp -config ldap-bind-dn="CN=otpsrv,CN=users,DC=otp,DC=dc"
multiotp -config ldap-server-password="MYPASSWORD"
Group of users for which OTP needs to be enabled:
multiotp -config ldap-in-group="2FAUsersGroup "
multiotp -config ldap-network-timeout=10
multiotp -config ldap-time-limit=30
multiotp -config ldap-activated=1
Key to access MultiOTP server:
*Please note that, following secret will be needed while setting up the client on servers.
multiotp -config server-secret=MYSECRETKEY
Synchronize AD users in MultiOTP:
multiotp -debug -display-log -ldap-users-sync
*To regularly synchronize new accounts in Active Directory, you need to create a scheduler task with the above command.
Now our Setup has been almost completed before that we need to start the web services from from the following path:
C:\MultiOTP\windows\webservice\
Run the webservice_install.cmd file with administrator rights. This will install the MultiOTP web management interface.
After that go to the web interface at http://127.0.0.1:8112/ under the admin account with a password of 1234 (it is recommended to change it at the first login).
Within the Users List segment, you'll find a compilation of domain users previously synchronized from the AD/LDAP source:
Choose a user and select the "Print" option. This action will display the user's QR code, which you must scan using authenticator apps such as Google Authenticator or Microsoft Authenticator.
The server-side configuration is now finished, and we've successfully acquired the OTP on the authenticator app by scanning the QR Code generated from the OTP Server. The image below serves as a reference from the authenticator app.
Installing the multiOTP CredentialProvider Agent on Windows Clients
The next step involves installing the multiOTP CredentialProvider on the Windows computers where you intend to implement two-factor user authentication with MultiOTP. This CredentialProvider is compatible with all Windows versions, including 7, 8, 8.1, 10, 11, as well as Windows Server editions 2012(R2), 2016, 2019, and 2022. For the purposes of this demonstration, we'll be configuring two-factor authentication on a Windows Server 2019, which is a member of the domain otp.dc.
To get started, download and install the multiOTP CredentialProvider from the GitHub repository: https://github.com/multiOTP/multiOTPCredentialProvider/releases
Specify the IP address of the server where multiOTP is installed. Input the secret word from the multiOTP configuration (in our example, it is MYSECRETKEY).
Remember to open the firewall port on both the multiOTP server and client. This can be achieved using following PowerShell command:
New-NetFirewallRule -DisplayName "AllowMultiOTP" -Direction Inbound -Protocol TCP –LocalPort 8112 -Action Allow
Having successfully configured both the OTP Server and Agent, it's time to log in to the server using the OTP received on our authenticator app. Ensure that your domain aligns its time with internet time servers and maintains consistency across client time to uphold the essential functionality of OTP.
Below, you'll notice the OTP option appearing during the Windows Server login for the Active Directory user. After entering the OTP, I successfully signed in to the server.
If you encountered any challenges during the setup, feel free to comment below. I'm here to assist you in deploying and configuring it in a production environment. Lastly, thank you for taking the time to read this blog. Stay tuned for more interesting posts!
Dear readers, I love you dherai dherai! ❤


Well written, thanks to the author. Love from 🇮🇳
ReplyDeleteThank you! Aakhilesh.
Delete